
NOTE: TT-RSS no longer officially supports manual host installations, and Opalstack is a manual host platform. TT-RSS transitioned to supporting Docker. Thus, self-hosted, the application is subject to breaking during updates.
Valid as of January 02, 2021
Introductory Paragraphs
RSS (RDF Site Summary or Really Simple Syndication) web feeds are an efficient means of monitoring websites, databases, and it is how podcasts are served. I use RSS to monitor legal rulings, various Hamilton websites and blogs, and to see the latest academic journal articles in my fields of interest.
I use Opalstack as my web-host because they provide a great deal of flexibility for myself as a amateur developer while taking care of the advanced and complicated tasks involved in web hosting. Whenever I need help, the operators of Opalstack (who used to work for my previous host Webfaction before it was bought out) provide quick support. They offer WebDAV which I need for my instance of Zotero.
This audience for this tutorial are people like me, who can do simple tasks but are not actually developers. (aka, the graduate students who buy web-hosting for their Zotero WebDAV and then do a bunch of other things)
I use Tiny Tiny RSS (TT-RSS) for my RSS reader, it is the most versatile of the self-hosted open source platforms.
***If you are not self-hosting, there are numerous RSS apps available which do not require self-hosting. you can Google. Here is a recent Lifehacker round-up to start***
Create the App in the Opalstack Dashboard
Log into the Opalstack dashboard using your username and password at https://my.opalstack.com/
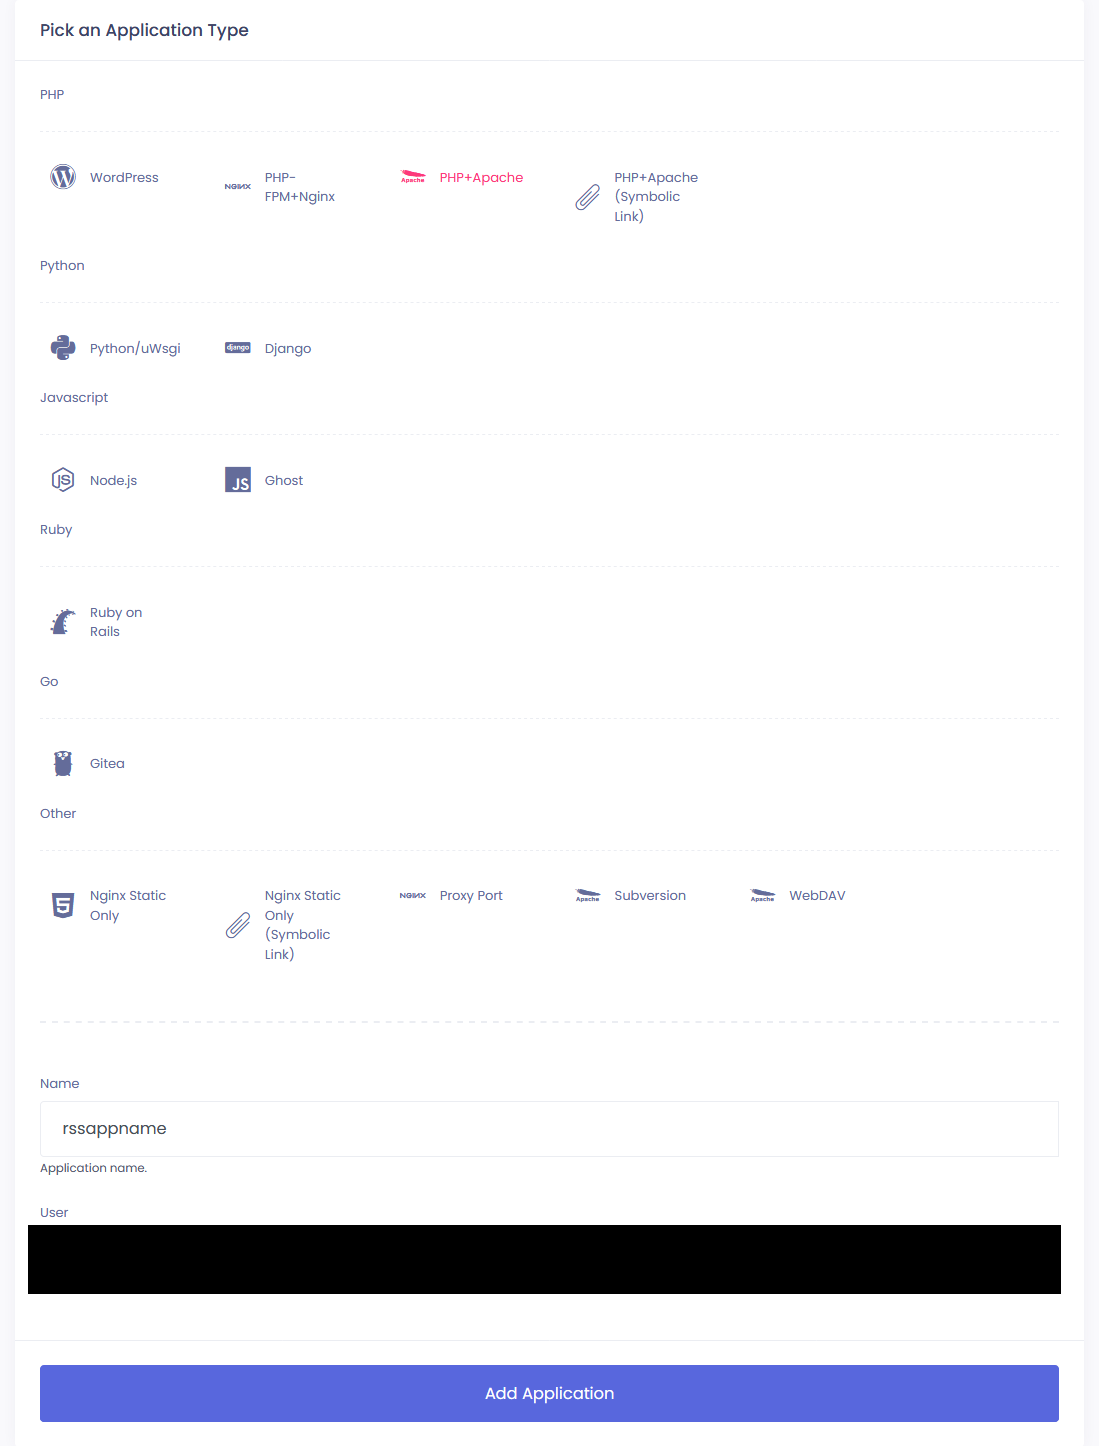
1) Select Applications (https://my.opalstack.com/applications/)
2) The application type to select is "PHP+Apache"
3) Give your app a name. For this example, I'm using "rssappname"
Create the SubDomain
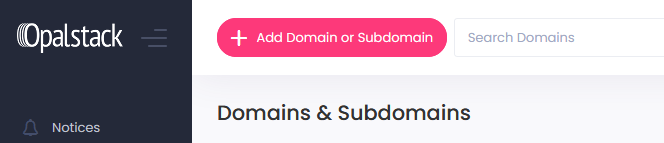
4) Select "Domains" --> "Add Domain or Subdomain" (https://my.opalstack.com/domain/new/)
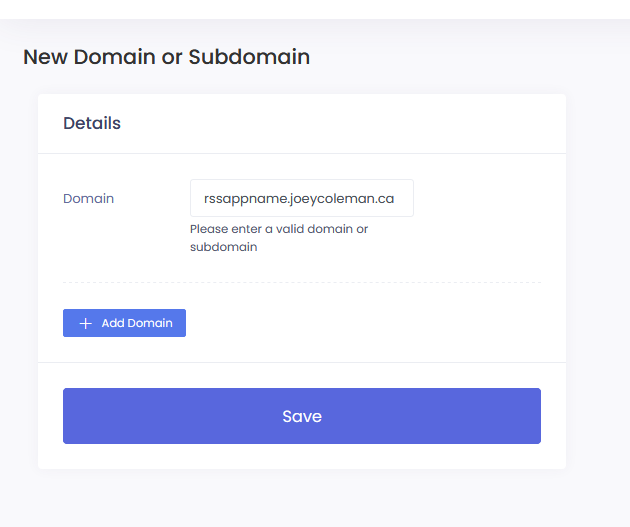
5) Create a subdomain (or domain, I prefer subdomains for non-public facing applications) by giving it a name. For this example, I'm naming the sub "rssappname" and making it a sub of my personal domain.
Create the Site Route
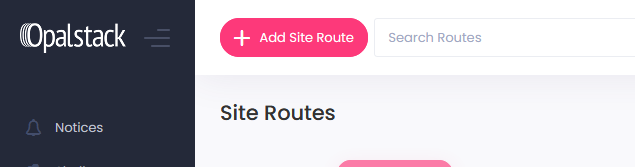
6) Select "Site Routes" —> "Add Site Route" (https://my.opalstack.com/route/new/)
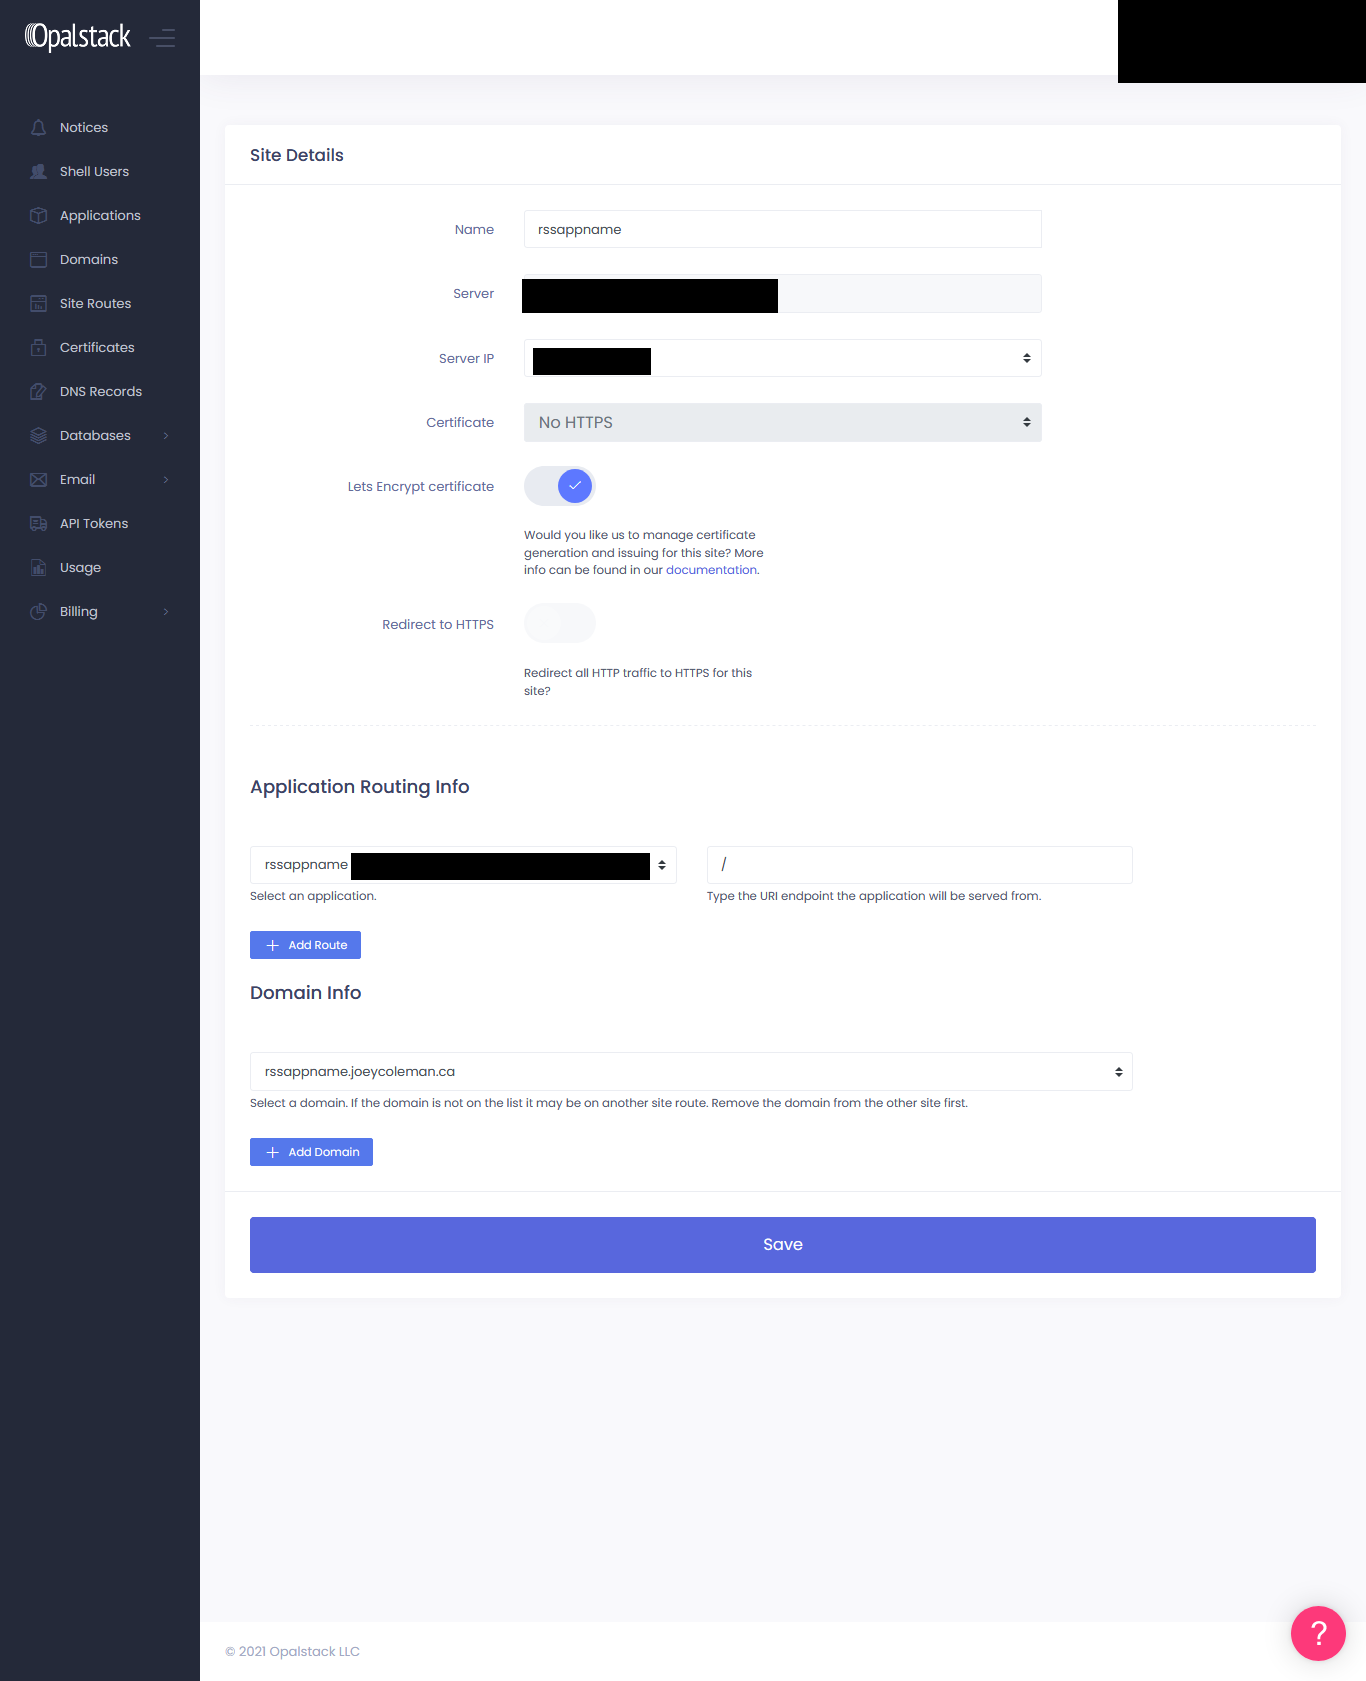
5) In Site Details do the following:
i) name your app
ii) Make sure to select a Lets Encrypt Certificate
iii) Select your application name [I named mine "rssappname" in step 3]
iv) Route to the domain created in Step 5 [I named mine "rssappname.joeycoleman.ca"
The server and server IP are automatically selected. If you have multiple accounts with Opalstack, you likely already know how to map properly in the dashboard.
Create the Database
Note: You can use either MariaDB or PostgreSQL for TT-RSS. I use PostgreSQL because my previous hosting used this database type.
6) Select "Databases" —> "PostgreSQL" —> "Add Database" (https://my.opalstack.com/database/new/?type=pgsql)
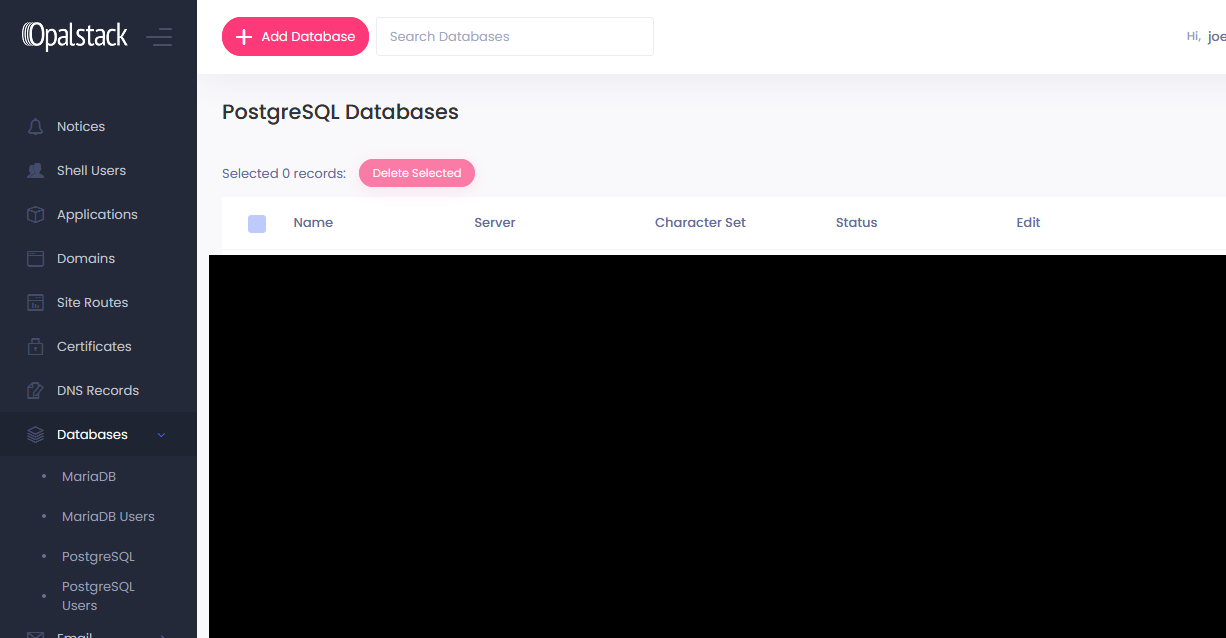
7) Give the Database a name. For this example, I am using "rssdb" as the name.
Wait for the database to create, this takes a few minutes.
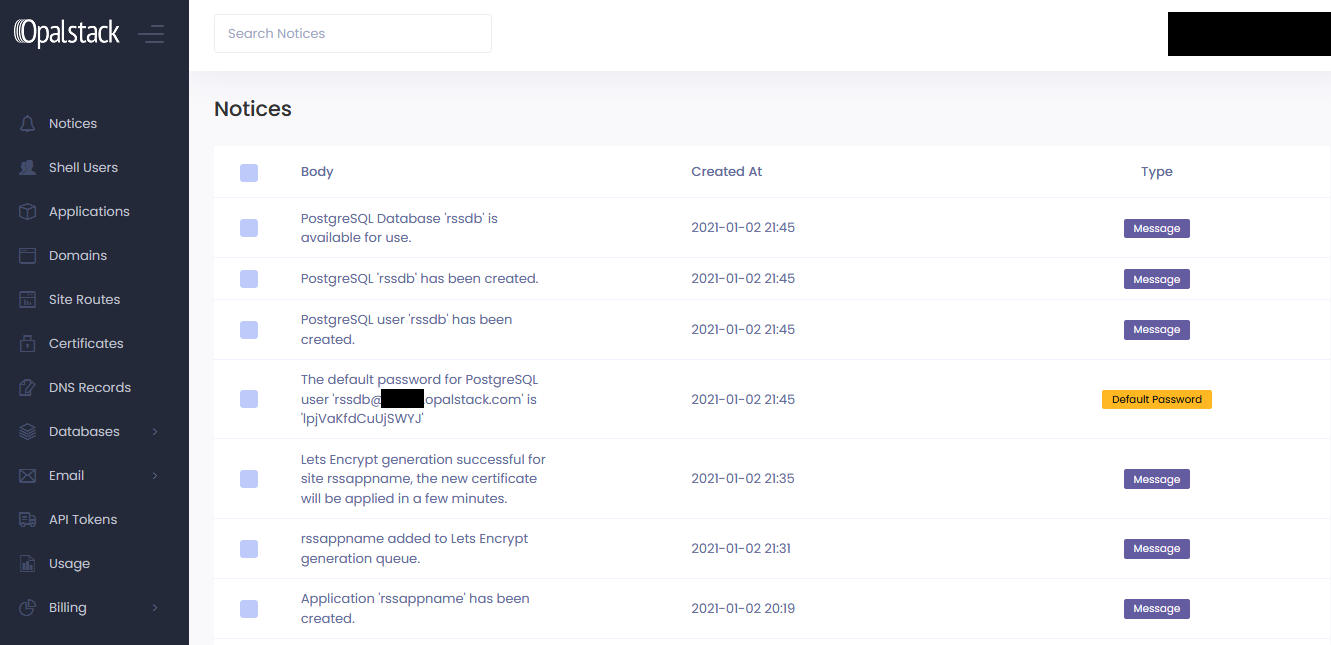
8) Go to "Notices" to get your database username and password
SSH Git Clone and Crontab
Opalstack offers a help topic page on using SSH, please visit it if you have not used SSH to access your assigned server.
Run the following commands after logging with SSH using Terminal, PuTTY, or another SSH console.
From $HOME
cd apps/rssappname
git clone https://git.tt-rss.org/fox/tt-rss.git tt-rss

Now we need to app TT-RSS to our crontab to enable automatic updates of RSS feeds.
crontab -e
In crontab add the following line to update every 10 minutes (I do not recommend a shorter interval as running the updates takes time, and shorter intervals use more RAM)
Press "I" to switch into "INSERT" mode
*/10 * * * * /usr/bin/php /home/USERNAME/apps/rssappname/tt-rss/update.php --feeds --quiet
Press "escape" to exit INSERT mode, then type
:w
to save changes
:q
to exit the editor
File Permissions
We now need to change file permissions.
First, we need to make sure we are in the TT-RSS directory on our server. We left off in our apps/rssappname folder.
cd tt-rss
chmod -R 777 cache/upload && chmod -R 777 cache/images && chmod -R 777 cache/export && chmod -R 777 feed-icons && chmod -R 777 lock
Install in Web Browser
Go to your TT-RSS subdomain and add "/tt-rss/" to the URL to load the TT-RSS installer
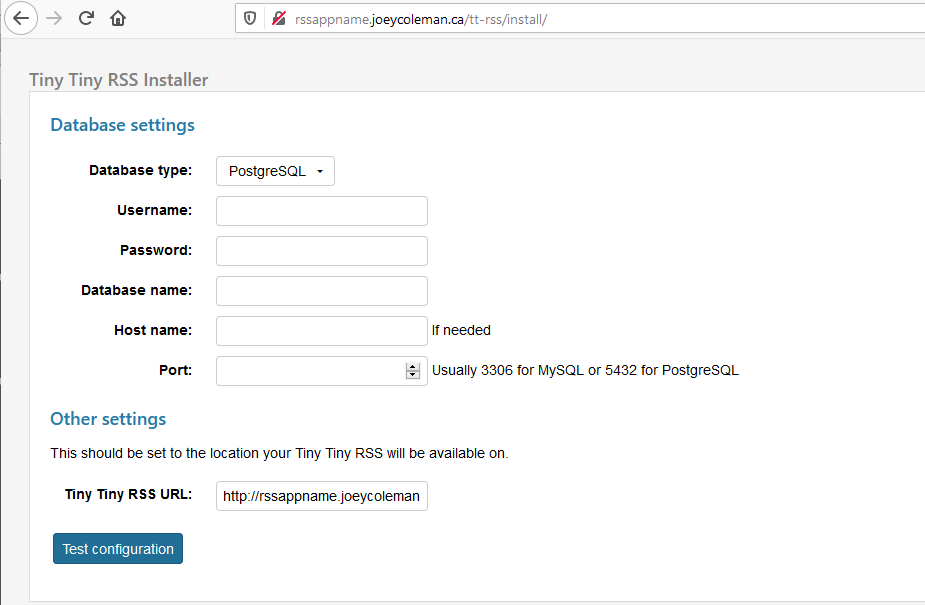
Change the following settings, inserting your information in place of mine shown below.
Username: DBUSER without the @SERVER.opalstack.com [from the notices page on Opalstack]
Password: DBUSER password
Database name: DBNAME
(Leave "Host name" blank)
Port: 5432
IMPORTANT
Change the "Tiny Tiny RSS URL" to HTTPS
Click "Test Configuration" and if you've done everything correct, you will see the following:
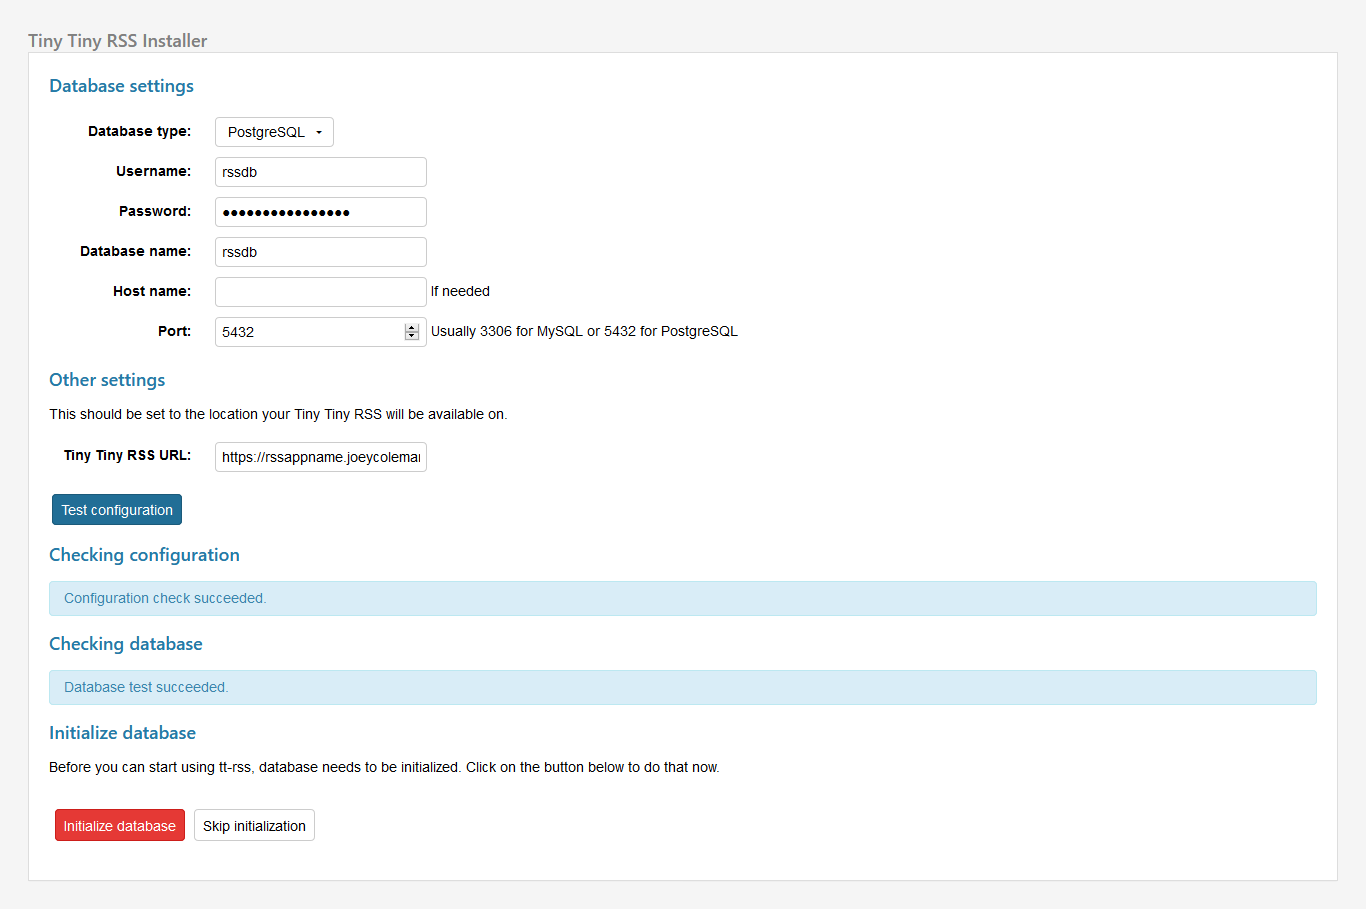
Initialize Database
Now click initialize database. You should see the following
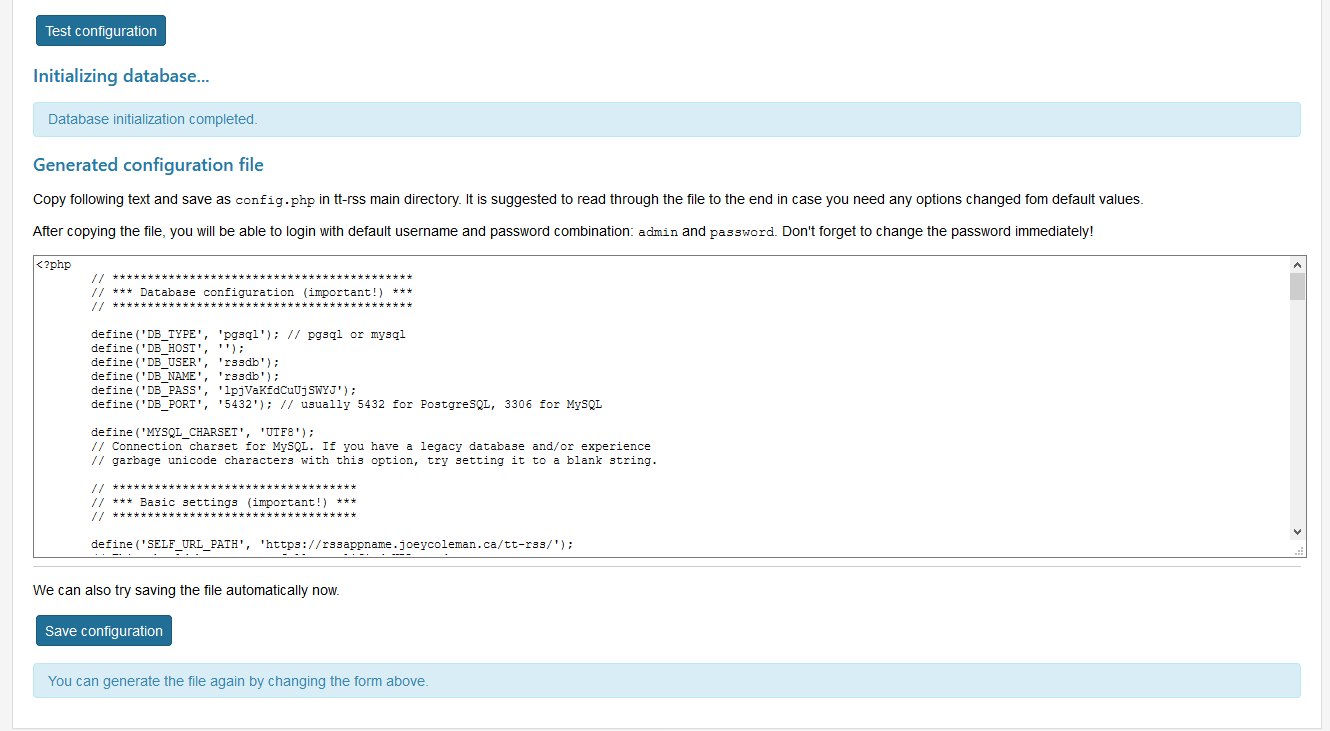
Save Configuration
Click "Save Configuration" and you should get the following stating "Successfully saved config.php. You can try loading tt-rss now"

Load TT-RSS, Change Admin Password
You need to enter the URL for your TT-RSS instance into the address bar with the HTTPS in front (the hyperlink "try loading tt-rss now" will take you to the http URL and will fail)
The default login for TT-RSS is "admin" with a default password of "password"
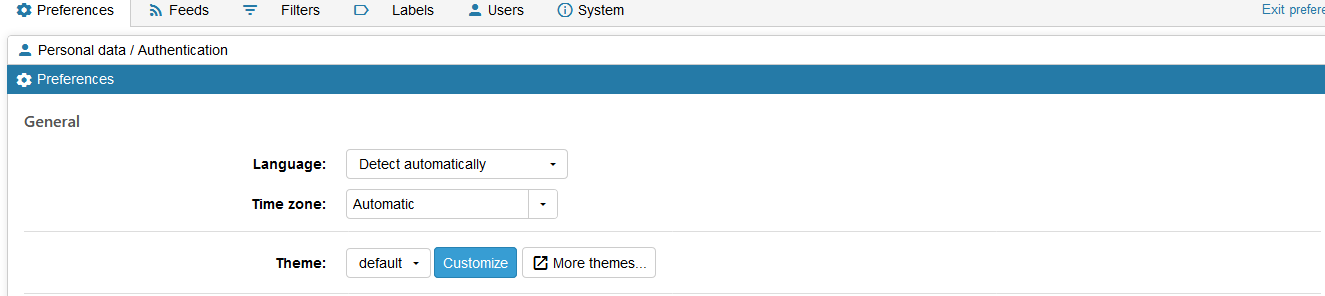
TT-RSS will prompt you to change your password by clicking "Open Preferences".
In the top bar of the preferences menu, click "Users"
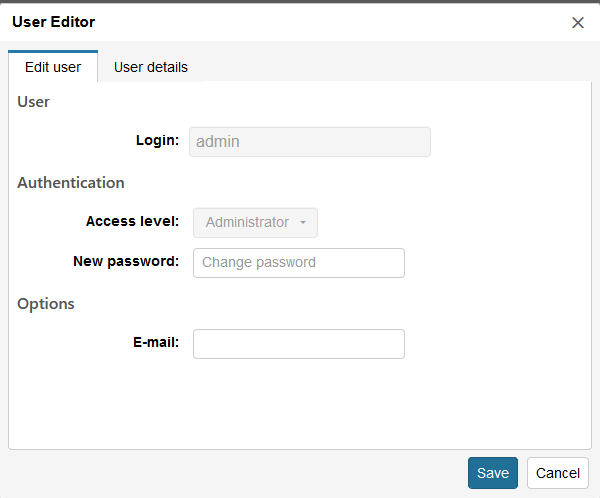
Select admin, then click "edit"
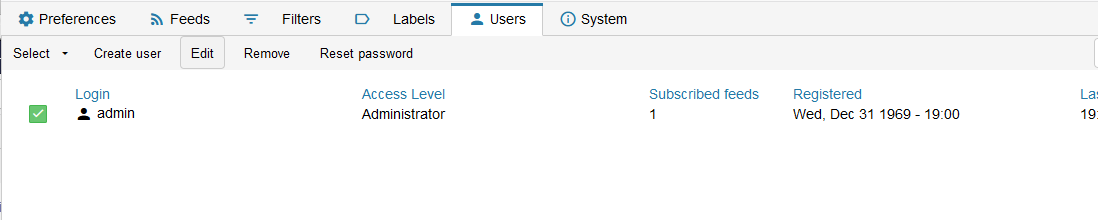
Enter your new password. If you wish to add a password recovery email, you can do so as well.
Updating TT-RSS from Git
CAUTION: as TT-RSS's development team does not support manual hosting, updates can break the instance. You'll need to go over to the support forums to watch for someone to post a tutorial on how to fix the break.
Connect to your Opalstack server using SSH
From the $HOME directory (replacing rssappname with your appname)
cd apps/rssappname/tt-rss
git pull origin